Step 1) Carving.
First you need something to cast. I had a customer (Jen) ask for a dragon terminal torc bracelet, and this seemed like the perfect opportunity to document my process. I started with a sketch she had sent me of what she wanted:


This probably took me about 10 hours to carve. First you have to get the general shape and mass laid out. Then you work on bigger features and their placement, and finally on subtle shaping and detail. Yes, you have to carve each and every scale. It's also hard to see detail in wax, because it's semi-translucent. This helps with thickness, but makes texture harder to see. I may move to super-stiff clay sometime in the future.
At this point if your carving is made of wax and you only want 1 of them, you could skip directly to step 3, and just cast it. This is a bit risky as this is LOST wax casting, and if something goes wrong you have to carve another original. But if you only need 1, your carving didn't take long, and you are fairly confident of your casting ability it can be the way to go. I do many of my custom rings this way. You will get better detail for reasons you will see...
Step 2) Rubber Molding.
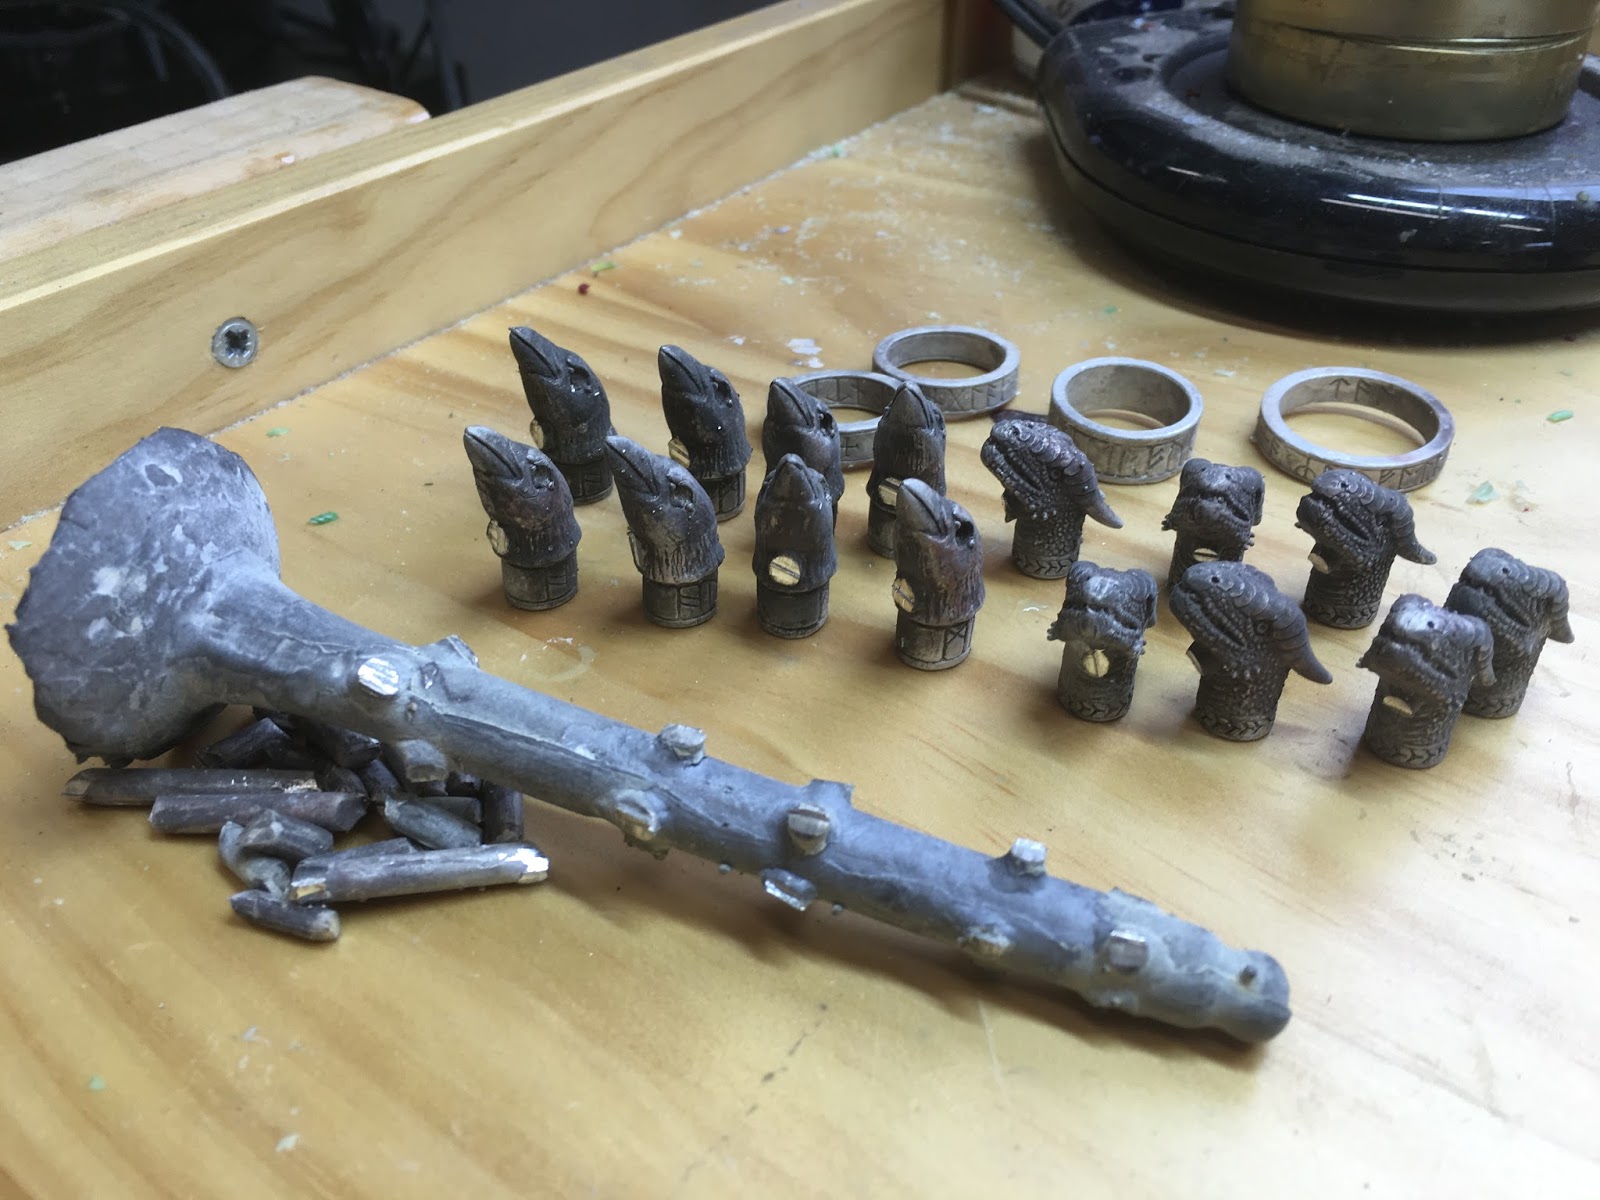
I spent 10 hours staring through an optivisor carving this sucker. There is no way I'm going to risk it being ruined by a lump in the investment plaster or a bad pour on my part. And on top of that I need another one. So when you need multiples of something you make a rubber mold of it so you can make more copies.
 |
| The mold drying. The frame is bent aluminum strip with plexiglass sides. |
 |
| The mold. Note the channel for the wax to injected |
 |
| Wax injection |

Step 3) Treeing & Investing.
Now that we have wax models we are ok with losing, we need to set them up for being cast in metal. Sometimes this is very simple as in this picture:
 |
| A 2.5" mold base for a single ring casting. The weighed silver for the casting is in the plastic cup on the right. |
 |
| A wax tree on a 4" mold base, setup for a 6" flask. |
To make the tree I start with the central sprue (which I cast the same way as the heads), and use a hot wax tool to weld the individual parts to the main sprue. The rubber part at the bottom is a mold base that gets reused. Bases come in specific sizes, which match flasks that get inserted into them.

In this picture I've put a flask on top of the mold base. It has a rim that actually fits down into the edge of the mold base making a water-tight seal. The sides are covered with masking tape to prevent the investment plaster from running out.

If you look carefully you can see the tree of wax dragon heads in there. I realize this may not make much sense yet, but keep reading. If it helps, everything is upside down right now.

This is the mold filled with investment plaster. Investment plaster has two important properties. First, it can withstand high heat. Second, it is very finely porous so that we can suck air through it.
This has to dry for a couple hours. Then I flip it over, pull the base off it, and remove the tape. The result is:
 |
| The flask on the casting machine. Note the round hole into the machine on the right. |
 |
| The dome at the top and the wax tree are what become the empty space in the investment plaster mold |
Now we come to the fun part - BURNOUT. What we need to do next is get that wax out of there so we can pour hot metal into the space left behind by the wax,which will be shaped just like the tree. The burnout is done with a kiln, which slowly raised the temperature of the mold to 1350 F. This takes overnight. The next morning, I melt metal in my electric furnace. Most jewelers use a torch, but I like the furnace because it takes all the drama out of it. It's no more complicated than making coffee
 |
| liquid silver at 970 C |
I use a method of casting called vacuum casting. It's called that because I put most of the flask in a vacuum chamber which sucks out the air ahead of the liquid metal, pulling the metal into all the details. The picture below is the top of my vacuum casting machine. That round hole is where I will put the flask. All the holes in the side of the flask--which probably seemed kinda stupid--have their purpose here. When I put the flask in the chamber the air will get sucked out the bottom of the flask and all those holes. This pulls the metal down and sideways in the mold.

So the actual pour I can't show you because I needed two hands, but here is the situation just after:


I set the hot flask on the floor to cool a bit. When the silver is no longer glowing but still quite hot, it gets plunged into a bucket of water.


The hot plaster has literally blown itself to bits and what is left is the cooled silver in the shape of the void in the plaster.


No comments:
Post a Comment