I made a utility knife that's a little different than my normal style.
I went with a simple geometric theme. It started because this knife was a proof-of-concept for inlaying non-ferrous wire into the blade before heat-treat. Cutting the dovetail grooves in the steel is way easier when the steel is soft. I've seen people do it after hardening by only hardening the edge and leaving the back soft so they could still cut the steel. I didn't really want to do that because it limits your design options, and it probably wouldn't work well on a knife this small.
Luckily, it worked! I left extra metal sticking proud of the grooves when I did the heat treat, and hammered it in some more after the blade was tempered. I don't know that I needed to, but i figured why take chances that stuff moved around during the heating & quenching. The inlay metal I used is Nu-Gold, which is a copper &Zinc alloy that looks a lot like gold, but only costs about 1/1600th what gold costs.
the 3 lines on the blade became 3 right angles on the guard, which I cut in with an engraving tool.
And the 3 right angles turned into this when they got the pommel.
The handle is some stabilized maple from Pete's woodpile (again). It was nicely spalted (invaded by fungus after death).
And just because, here's a shot of the knife without the wooden handle on it. It lets you see how the tang of the knife extends through the handle to the back. It also shows how thick the tang is which is important for strength. And yes, it is a pain to cut a tapered rectangular hole through the wood and not break through the surface of the handle.
Posts about what I've been building lately. The focus is on custom knives, but I also make jewelry, wooden bows & arrows, furniture, and other assorted bits.
Sunday, June 22, 2014
Tuesday, June 10, 2014
Lost Wax Casting
I took a most awesome class at PetersValley this last week: lost wax casting for jewelry. I took it because I wanted to make knife parts, and it was fantastic! It was taught by Paul Nielsen, and the studio manager/artist in residence was Kristal Romano.
The basic idea is that you make something in wax and embed it in a plaster mold:
This is a wax butt cap for a knife set up on a base for casting. The metal cylinder behind it will go over the top and the whole thing gets filled with plaster. The wax gets melted out, and hot metal is poured in. Let the metal cool, break away the plaster, and you get these:
The metal version of the wax from in the first picture the second one back.
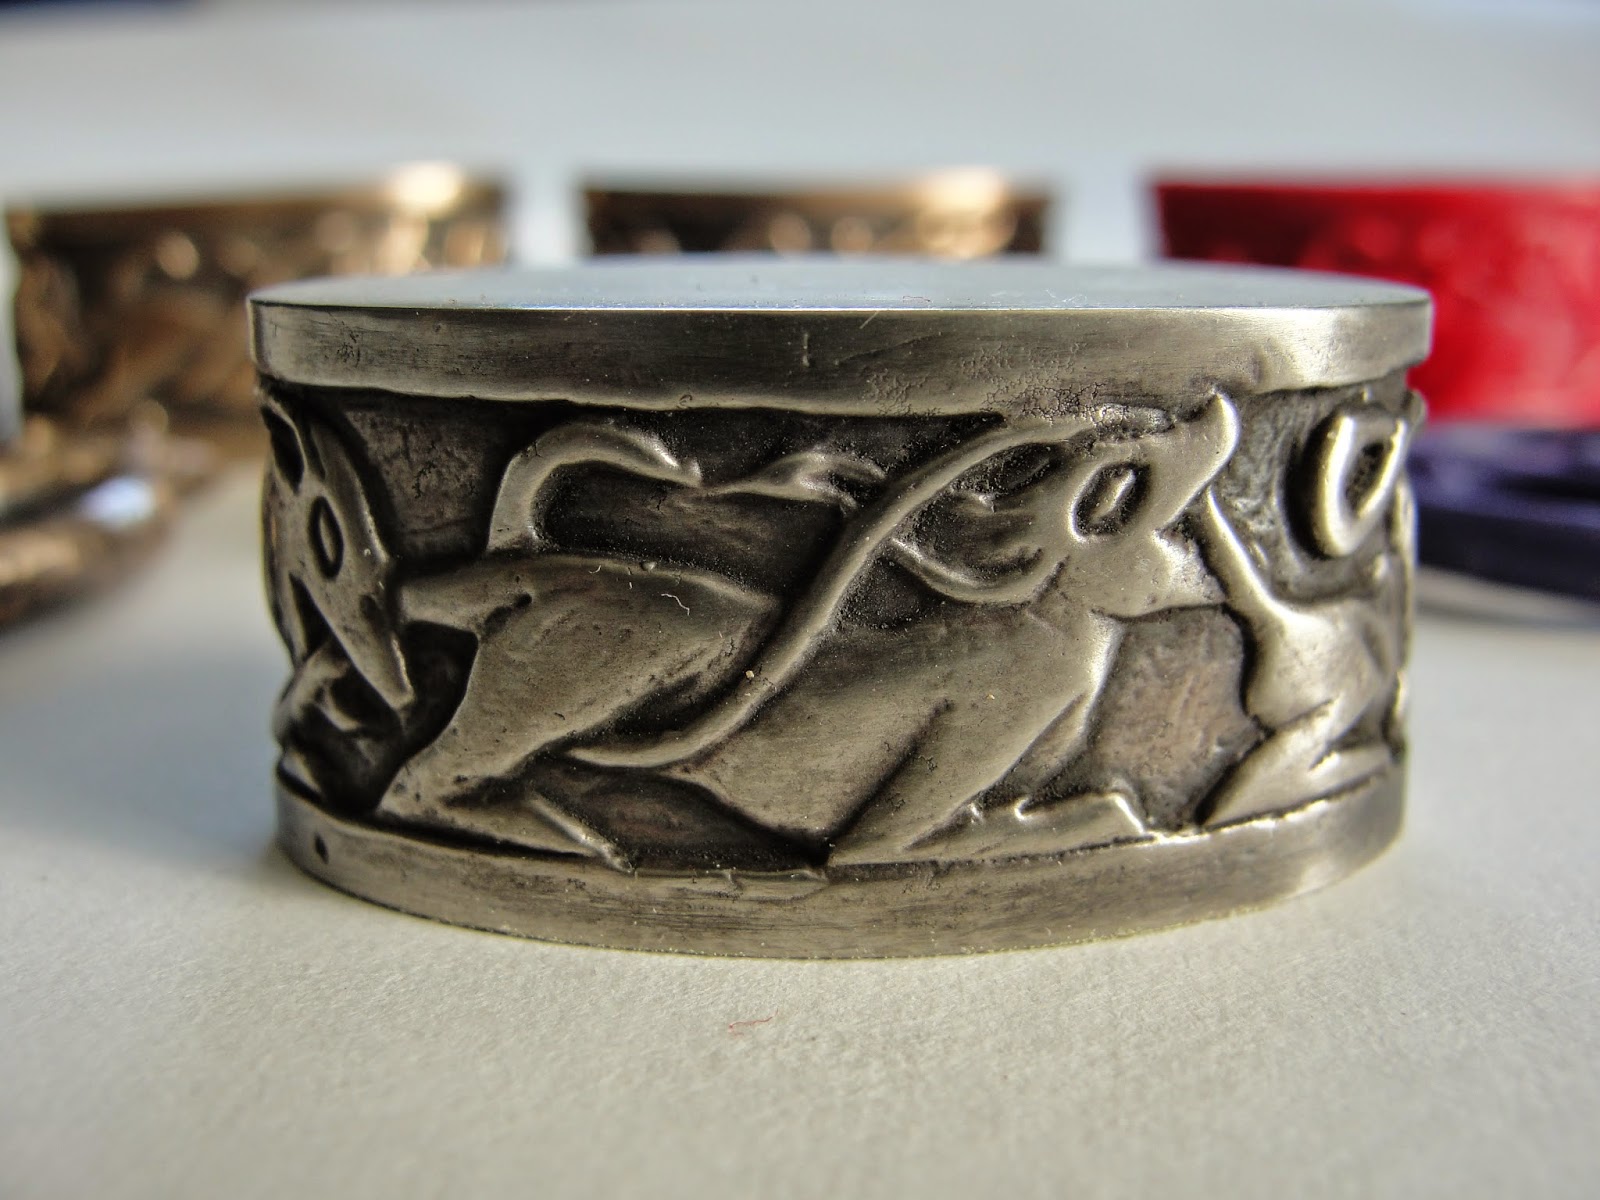
Once you clean these rough castings up, you end up with something like this:
And even better, if you make a rubber mold of the original first, you can make multiple wax copies, and thus multiple metal copies:
A couple of the wax copies are on the right. The ones on the left are white bronze, and the ones in the middle are classic bronze. So sometime in the next couple months I should get some knives done with fancy cast guards!
Subscribe to:
Posts (Atom)


